


Optical Design Services
Define the imaging prescription, target performance and design verification plan.
Explore Optical Design ServicesSUPERIOR OPTICS / CAPABILITIES
Rapid Optical Prototyping helps you test lens fit, imaging performance or assembly repeatability before committing to production tooling. Define the decision your first sample must support, then review glass availability, the build route and the tests that will tell you whether to revise the design or proceed to a pilot run.
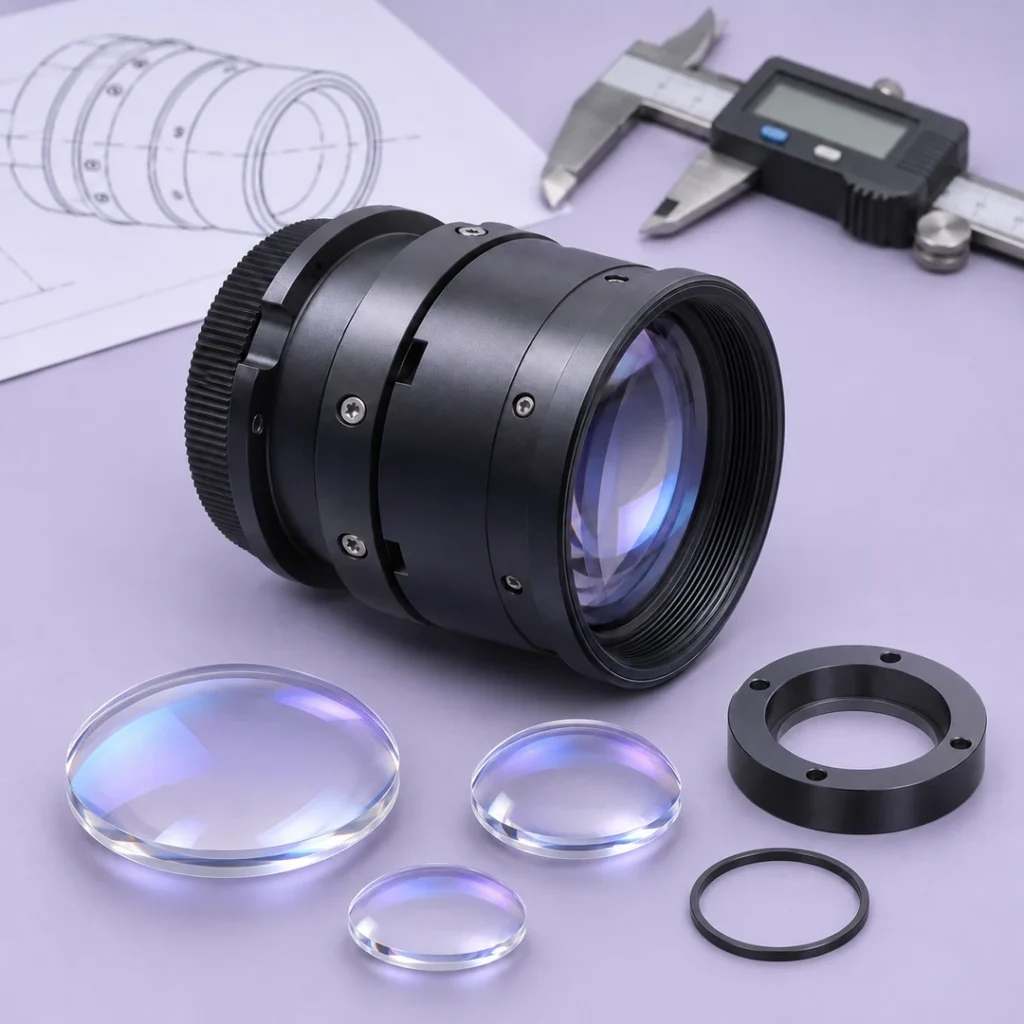
In rapid optical prototyping, the first build should answer a specific question: whether the lens fits, meets imaging targets, or can be assembled consistently. Choose the sample configuration and tests around that decision, and agree on what the team will review before ordering parts.
Use a fit sample to check interfaces or a functional prototype to check imaging performance. If repeatability matters, define a separate pilot build and the evidence it should capture.
Record any stock components, temporary fixtures or alternate materials used to accelerate the build. Identify results that must be repeated with production-intent parts.
Agree what evidence will justify a design change, another build or the next production review. Record known limitations alongside the sample results.
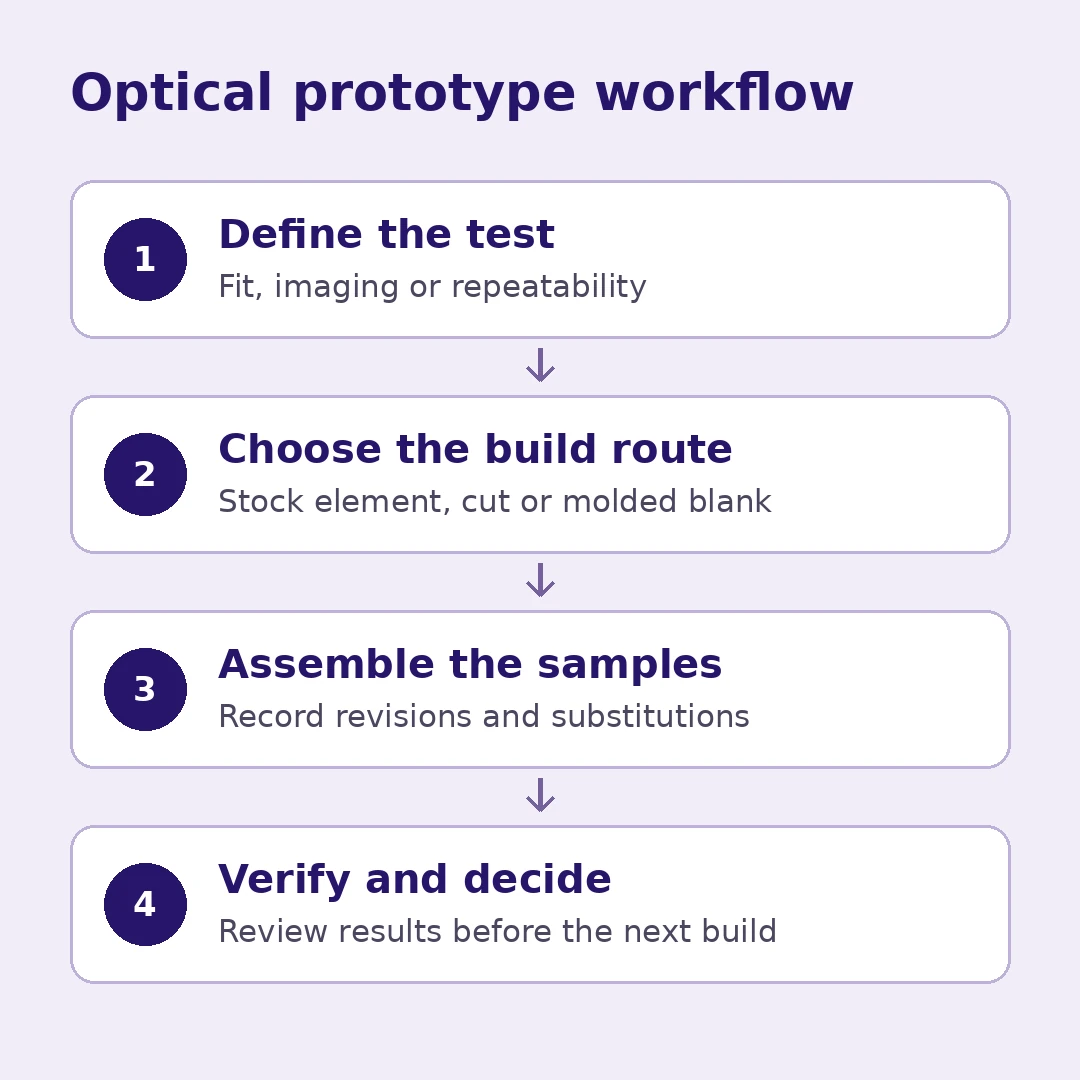
In rapid optical prototyping, choose the build stage based on the evidence you need. A proof of concept tests feasibility, a functional prototype checks performance under defined conditions, and a pilot build shows how consistently the proposed assembly process can produce units in the agreed sample set.
| Build stage | Question to answer | Evidence to request |
|---|---|---|
| Proof of concept | Will the proposed arrangement fit or demonstrate the intended function? | Fit notes or demonstration results, including temporary parts and fixtures. |
| Functional prototype | Does the sample meet agreed imaging or alignment targets under defined conditions? | Sample configuration, test setup and measured results. Record deviations from the intended production design. |
| Pilot build / LRIP planning | Can the proposed process repeat across units, and are checks ready for an initial low-rate production run? | Unit-to-unit results, revision and lot records, and open process risks. Define pilot scope separately from production release. |
Before setting the prototype schedule for rapid optical prototyping, confirm the glass grade, usable blank size and stock availability. Compare stock elements, cut blanks and pressed blanks against the optical prescription and sample quantity. If you change the glass grade, agree which optical checks to repeat.
| Starting point | When to evaluate it | Confirm before ordering |
|---|---|---|
| Stock optical element | A proof of concept can use an existing component to answer a limited question. | Compare glass, geometry and coatings with the intended design. Record which tests must be repeated with the final parts. |
| Cut or sliced blank | A suitable glass grade is available in stock form, with enough material for the finished size and machining allowance. | Confirm blank dimensions, available stock, material documentation and the finishing route. |
| Pressed or molded blank | A near-shape starting blank may make sense when geometry, material and quantities justify it. | Confirm tooling availability, blank condition and downstream finishing. A molded blank is not necessarily a finished optical surface. |
| Alternate glass grade | The specified glass is unavailable or impractical for the build. | Review refractive index, dispersion and transmission, then assess the optical prescription and document any revalidation required. |
For lens prototype development, share the latest drawings, bill of materials, sample quantity and any acceptance criteria. Flag unresolved decisions and allowed substitutions, then agree on the sample configuration, test records and review deliverables before authorizing the build.
| Review item | What to share | Review output |
|---|---|---|
| Prototype objective | Application, unresolved decision and required performance | Fit, functional or pilot build scope |
| Sample configuration | Drawing and BOM revision, parts to be supplied, allowed substitutions | Build baseline and deviations to document |
| Evaluation plan | Sample quantity, fixtures, working distance and acceptance criteria | Test plan and delivery records |
| Schedule dependencies | Material availability, tooling, coating and inspection needs | Project-specific timing and approval gates |
For published glass data and available forms, consult the material manufacturer. Confirm the actual grade, blank size and availability with the supplier for your project.
Before testing a rapid optical prototyping sample, define what the build can verify: mechanical fit, imaging performance, or consistency across units. Identify which tasks can run in parallel and which depend on a drawing release, glass availability or tooling. Allow time for coating, assembly and verification where required, and agree who can approve schedule changes.
Freeze the drawing and BOM revisions for this build. Identify approved substitutions and who can sign off if a change is needed.
Check glass form, usable blank dimensions, fixtures and any custom tooling before setting a fabrication date.
Allow for finishing, coating and inspection before assembly where required. Agree on who handles each step and how parts are identified.
Reserve the test setup and agree on the measurements, records and review criteria. Include time to review deviations before the next build.
Define what each sample can prove before testing. Record the build revision, fixture, test conditions and any substitutions with the results, so the review can identify what passed, what remains unverified and which checks to repeat with production-intent parts.
Check the lens envelope, mounting fit, connector and cable clearance, and access for installation or adjustment. Record interference, the mating hardware used and any temporary spacers or fixtures. Repeat affected checks if the interfaces change.
Measure the agreed imaging or focus targets with the specified sensor, working distance, aperture and illumination where applicable. Record the test setup and sample configuration, then compare the measured results with the agreed acceptance limits.
During pilot optical assembly, compare critical dimensions or optical results across the agreed sample set. Link results to unit IDs and revisions, record rework or deviations, and identify which assembly or inspection steps need another trial.
BUYER QUESTIONS
Find out what affects lead time, when stock components can be used, and what to record before the next build.
Timing depends on component availability, the need for custom parts or coatings, assembly and agreed tests. Confirm it after scope and material review.
Where suitable, yes. Document the substitutions and which findings must be verified again on production-intent parts.
Agree on a separate production release decision. A prototype may verify design behavior while leaving process repeatability and lot controls open.
Record the drawing and BOM revisions, sample IDs, substitutions, test setup, measured results and any deviations. Make clear what was verified and which checks must be repeated on production-intent samples.
PROJECT INQUIRY
Share the current drawing, sample quantity and the decision the first build should support.
Include a model number or the information currently available:
You do not need a complete optical specification to start. Send the information currently available, along with your delivery destination and preferred schedule.