


MTF and Lens Alignment
Investigate whether tilt, decenter, focus or the test setup is contributing to reduced contrast.
Read the GuideSUPERIOR OPTICS / RESOURCES
Use these lens engineering guides to match a lens to your camera and imaging task. Start with sensor coverage, field of view and working distance, then check image quality, wavelength and mechanical fit. Each topic shows what to measure, which specifications to compare and what to confirm on the actual camera before approving a sample.
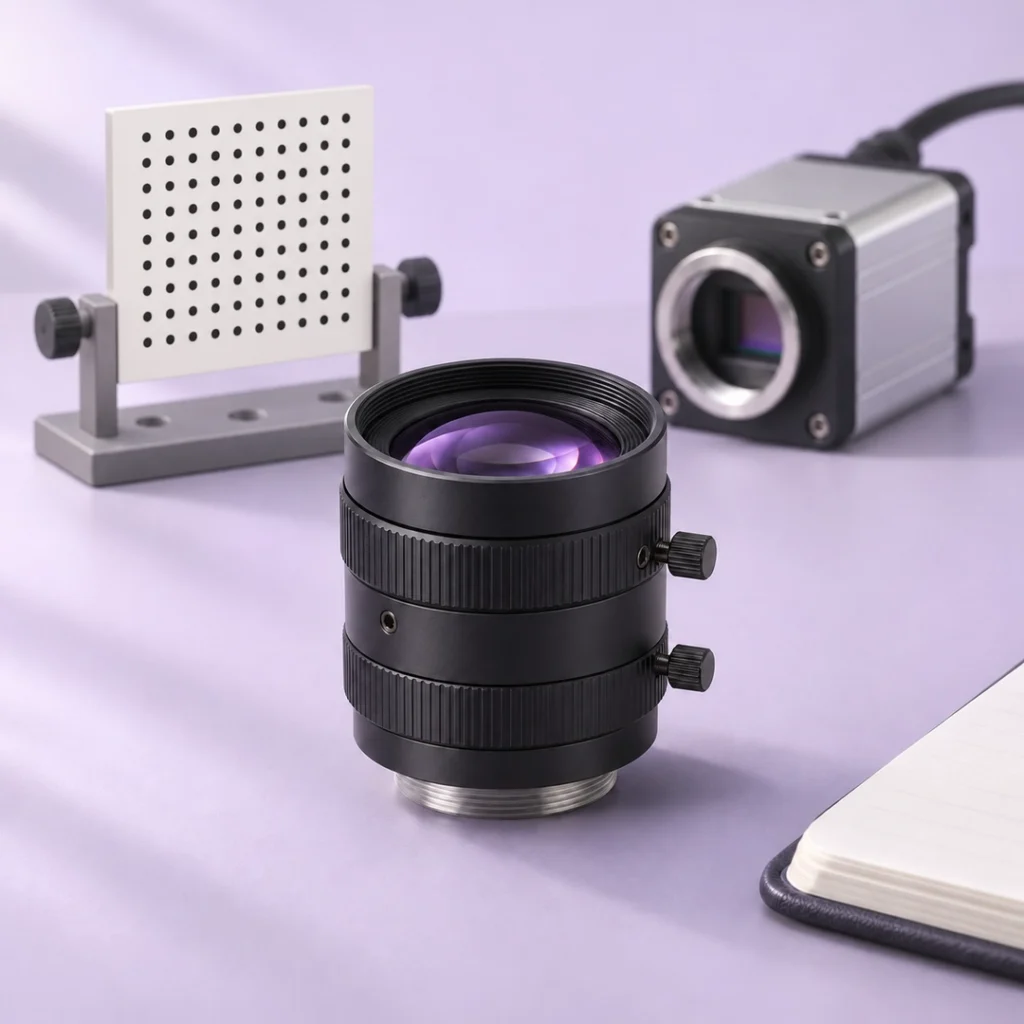
Use the Lens Engineering Guides to build a shortlist in four steps. Start by defining what the camera must capture, then check sensor coverage, imaging geometry and installation limits. Finish by testing a representative sample against the requirements you recorded.
Record the full area the camera must capture and the smallest feature it must reliably detect, measure or identify. Note the expected variation in object height and position. Include a representative part or scene so the team can agree on what a successful image looks like.
Use the active sensor dimensions from the camera datasheet. Match the required field width to the active sensor width, and do the same for height. Record the working distance and any limits on camera placement, then check whether the lens covers the active sensor area.
Specify the illumination band, filter stack, exposure time and aperture range. Record the camera mount, the space available around the lens and any limits on focus adjustment. Separate fixed constraints from settings you can change during sample testing so you know where there is room to adjust.
Mount the sample on the intended camera and test it with your planned illumination and working distance. Check focus, coverage and feature contrast at the center and at relevant edges of the field. Record which conditions passed, what fell short and whether a retest is needed.
Use the Lens Engineering Guides checklist to record active sensor dimensions, object-side field of view and working distance before comparing model datasheets. The table pairs each selection input with a practical sample check, so you can distinguish a promising specification from a result verified on your setup.
| Selection input | What to record | What to check on the sample |
|---|---|---|
| Sensor coverage | Active width and height or active line length; pixel pitch and camera model. | Image circle and usable coverage across the area or scan line. |
| Imaging geometry | Object-side field of view, working distance and object-height range. | Coverage and focus at the required distances and object positions. |
| Feature detail | Smallest feature, target contrast and edge-of-field requirements. | Whether the actual lighting, camera and lens resolve the relevant features. |
| Spectral requirements | Illumination band, filters, sensor response and exposure constraints. | Image contrast and usable signal across required wavelengths. |
| Mechanical interface | Mount, available clearance, focus adjustment and camera drawing. | Physical fit and available focus adjustment in the assembled system. |
Understanding Focal Length and Field of View — Edmund Optics
The Lens Engineering Guides explain what to check once a candidate lens meets your basic field-of-view requirements. Use these articles to investigate loss of contrast, compare aperture settings across the required depth of field, and check how the lens and filters perform across your operating wavelength band.
Investigate whether tilt, decenter, focus or the test setup is contributing to reduced contrast.
Read the GuideCompare apertures against part-height variation, contrast and exposure limits.
Read the GuideCompare the operating band, filter stack and lens transmission requirements.
Read the GuideUse the Lens Engineering Guides to check how a candidate lens will fit the camera and the application. Review image circle and chief ray angle for sensor compatibility, verify the mount and flange distance, then explore telecentric or line scan optics if your inspection task calls for them.
Check coverage and sensor compatibility beyond the nominal sensor format.
Read the GuideCheck the mount, flange distance and clearance before ordering a sample.
Read the GuideCompare the inputs needed for dimensional measurement and continuous inspection.
Read the GuideUse the Lens Engineering Guides to turn a sample trial into a repeatable acceptance check. Record the camera setup, lighting and pass criteria before testing, then save representative images and note any exceptions so engineering and procurement can review the same evidence.
Test with the intended camera, mount and working distance. Check focus and coverage at the nearest and farthest expected object positions, then confirm the lens clears the housing and fixtures.
Check focus and feature contrast at the center and at relevant edges or corners. Use the same target and settings throughout so differences across the field are easy to compare.
Use the planned lighting, filters and exposure settings. Capture a representative part or scene and check whether critical features remain visible under the lighting conditions expected in production.
Record the lens model or revision, camera settings and test conditions. Save representative images, note any missed criteria, and identify what must be retested before approving the sample.
Use the Lens Engineering Guides to check which specifications you can compare on paper and which need a sample test. These answers cover sensor fit, focal-length estimates, comparing candidate lenses and when to request an engineering review.
Use the camera datasheet for active dimensions, pixel pitch and any relevant sensor stack details. A nominal format label is only a starting point.
Use it to narrow conventional imaging options. Check the actual model and application geometry before choosing a sample.
Request a review when standard lenses do not meet the geometry, wavelength, mechanical fit or image quality requirements, or when important inputs are unknown.
Keep the sensor, target, working distance and illumination consistent. Set each lens to the intended aperture and focus, then compare coverage and feature contrast at the same positions across the field.
Turn the Lens Engineering Guides into a project brief by recording your sensor, field of view, working distance and acceptance criteria. Open the Lens Selection Tool to organize the inputs you already have, or return to Resources to find articles on the questions still open.
Enter the parameters you already know and identify what still needs confirmation.
Open Lens Selection ToolFind the technical tool, articles and other starting points for your imaging project.
Back to Resources