


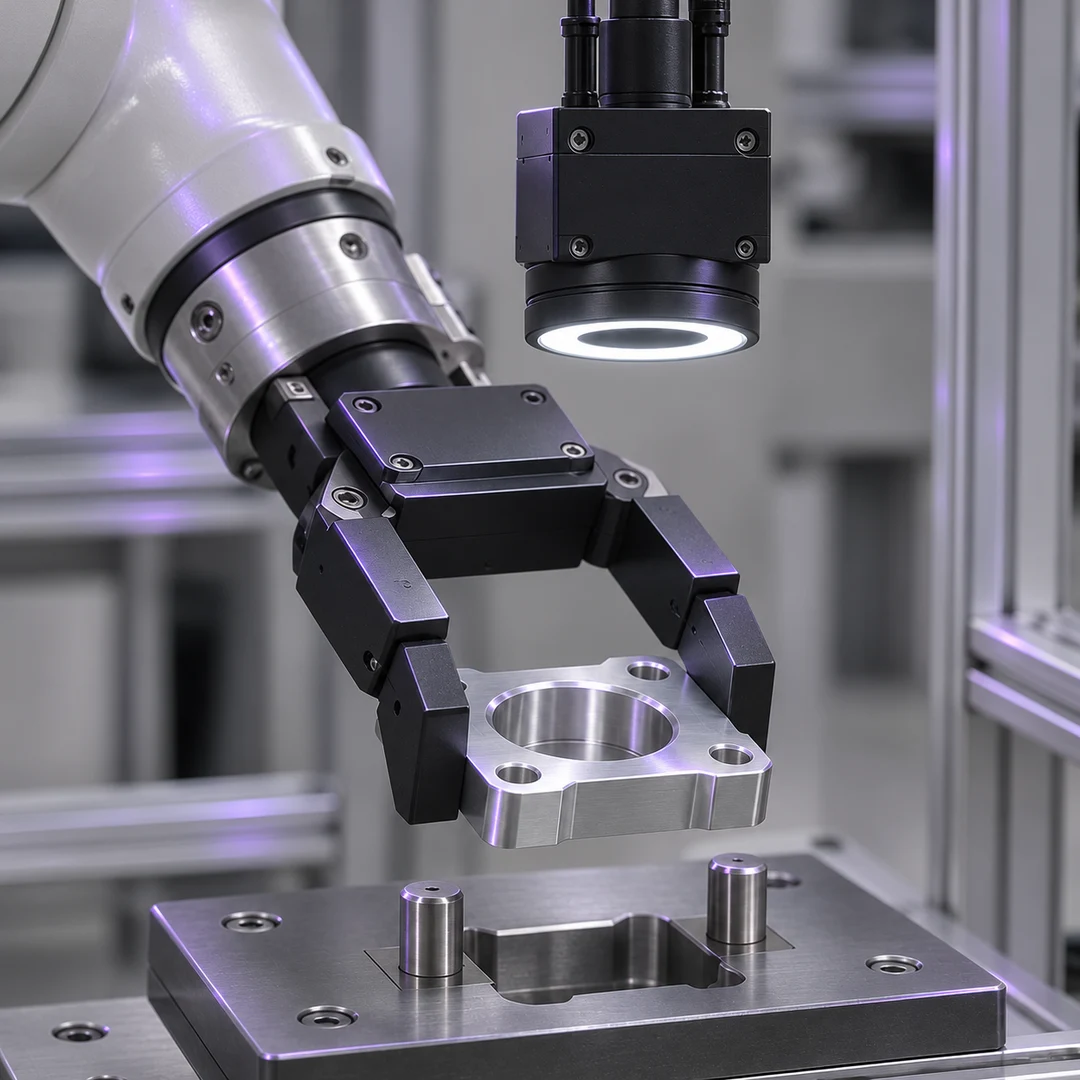
Robot Guidance
Check position and orientation against known poses at the edges of travel. Verify camera-to-robot calibration with repeat picks.
SUPERIOR OPTICS / APPLICATIONS
Machine Vision & Automation starts by defining what the image must prove. Separate robot guidance, assembly verification, and defect detection, then test optics and lighting on parts that represent the expected production variation. Confirm the result at the intended cycle time before choosing a setup.
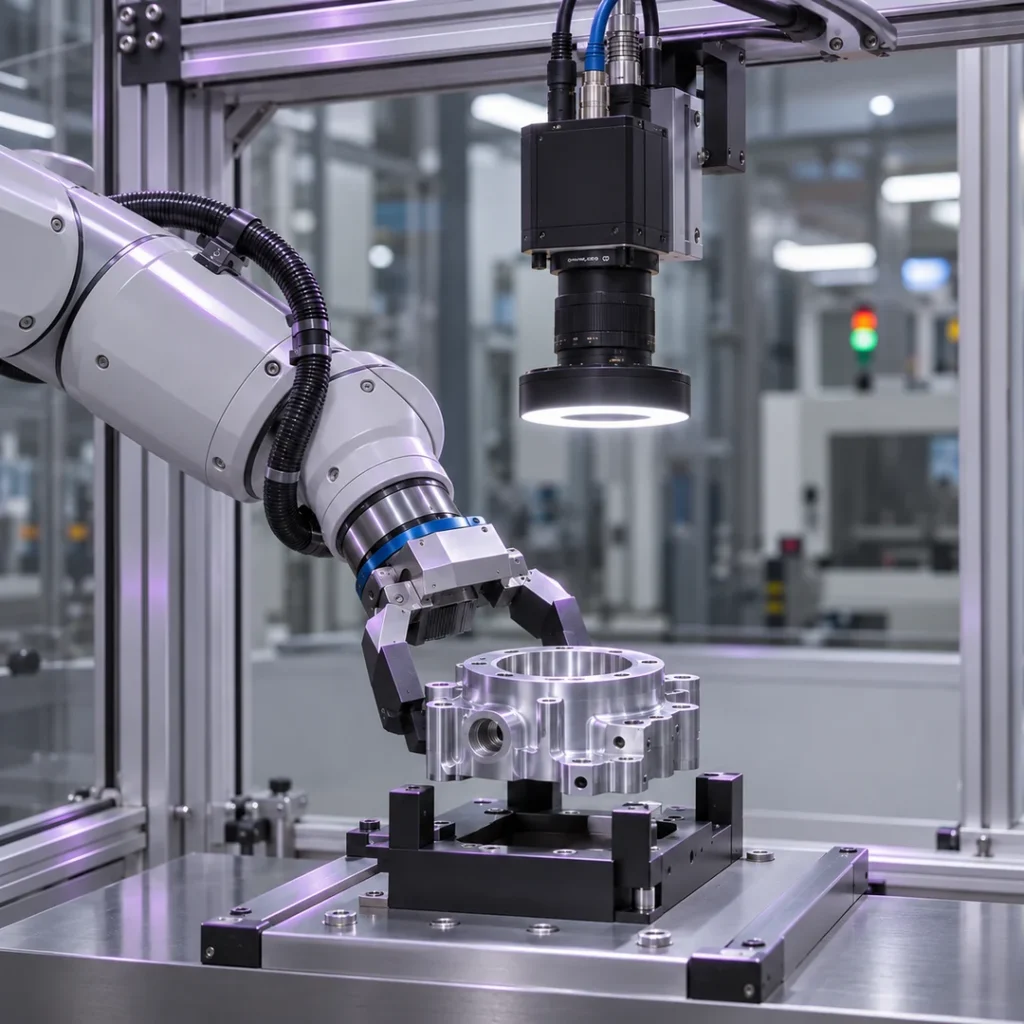
In Machine Vision & Automation, each task starts with a different question: Where is the part? Is the assembly correct? Is there a surface defect? Use the examples below to define what your camera needs to see at production speed.
Check position and orientation against known poses at the edges of travel. Verify camera-to-robot calibration with repeat picks.
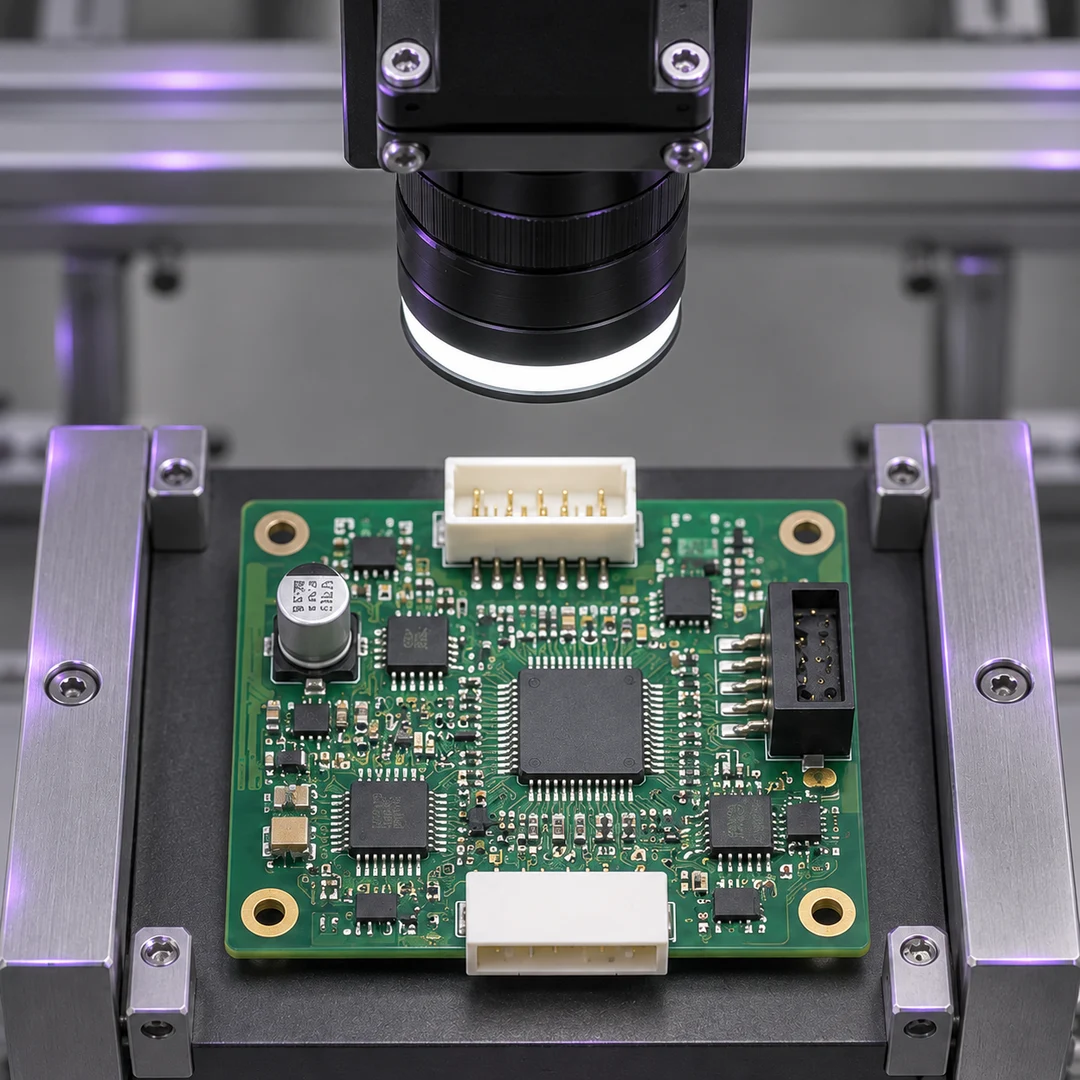
Check whether each connector or fastener is present and seated. Test wrong, missing, and partially inserted parts as well as acceptable assemblies.
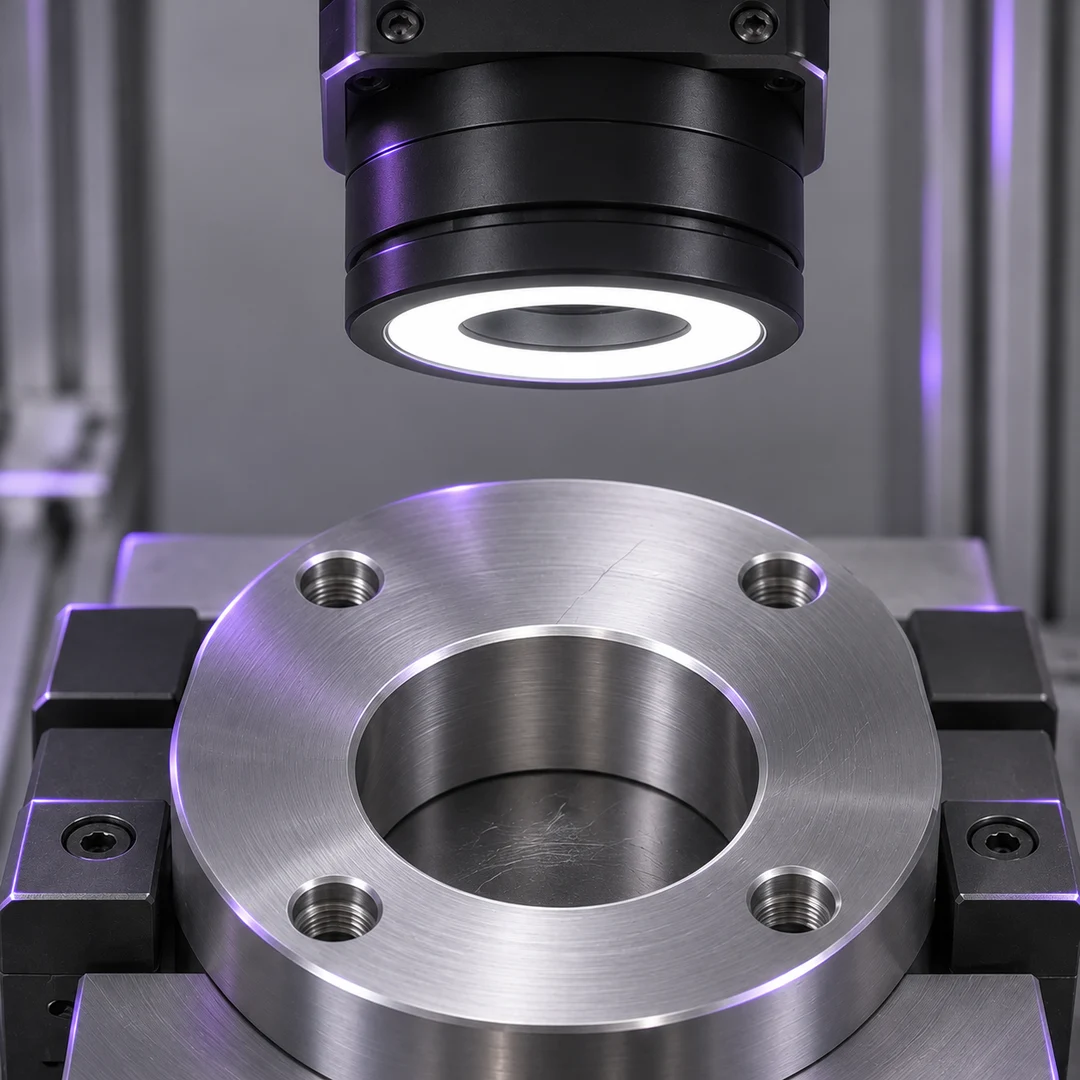
Use known good and rejected samples to test scratch or blemish visibility. Repeat with the actual finish, lighting angle, and production speed.
Machine Vision & Automation works best when each task has a measurable acceptance test. Record allowable position error, the smallest relevant feature, expected part variation, and worst-case exposure at production speed.
Check position and angle against known references at the center and edges of the field. Record the largest error over repeated trials.
Define what counts as missing, misplaced, or partially seated. Use good and borderline samples to confirm the pass/fail criteria.
Test the smallest defects on parts with typical variations in surface finish. Check that scratches or marks stay visible under production lighting.
Measure the time from the production trigger to the inspection result. Confirm the system can keep up at the fastest expected line speed.
Machine Vision & Automation can use general machine vision optics for inspection and calibrated guidance, or telecentric optics for dimension-sensitive checks. Compare coverage, working distance, and usable contrast before locking in a lens.
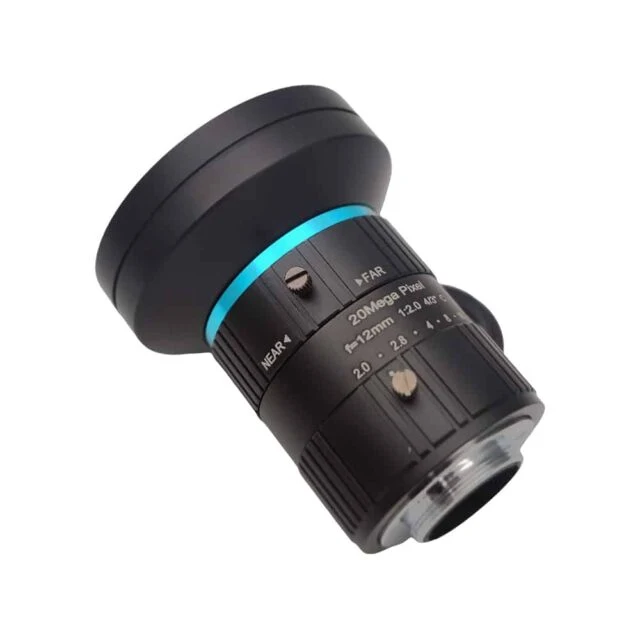
Compare lenses for robot guidance, assembly checks, and defect inspection. Verify field of view, working distance, and whether the lens preserves enough detail to see the smallest feature reliably.
Browse Machine Vision Lenses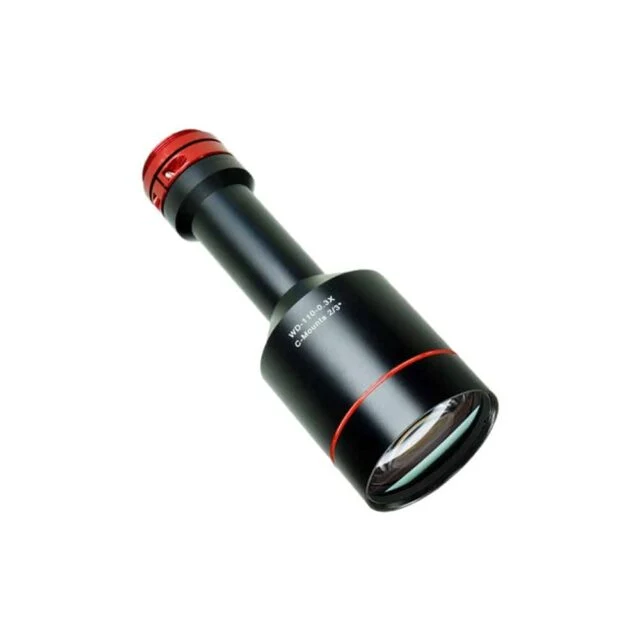
Consider telecentric lenses when part height varies and apparent size affects the measurement. Test representative parts across the expected height range to see whether readings stay within tolerance.
Browse Telecentric LensesFor Machine Vision & Automation, start with field of view and working distance, then define how you will verify lens performance. Use these guides to turn your imaging requirements into a lens selection and acceptance plan.
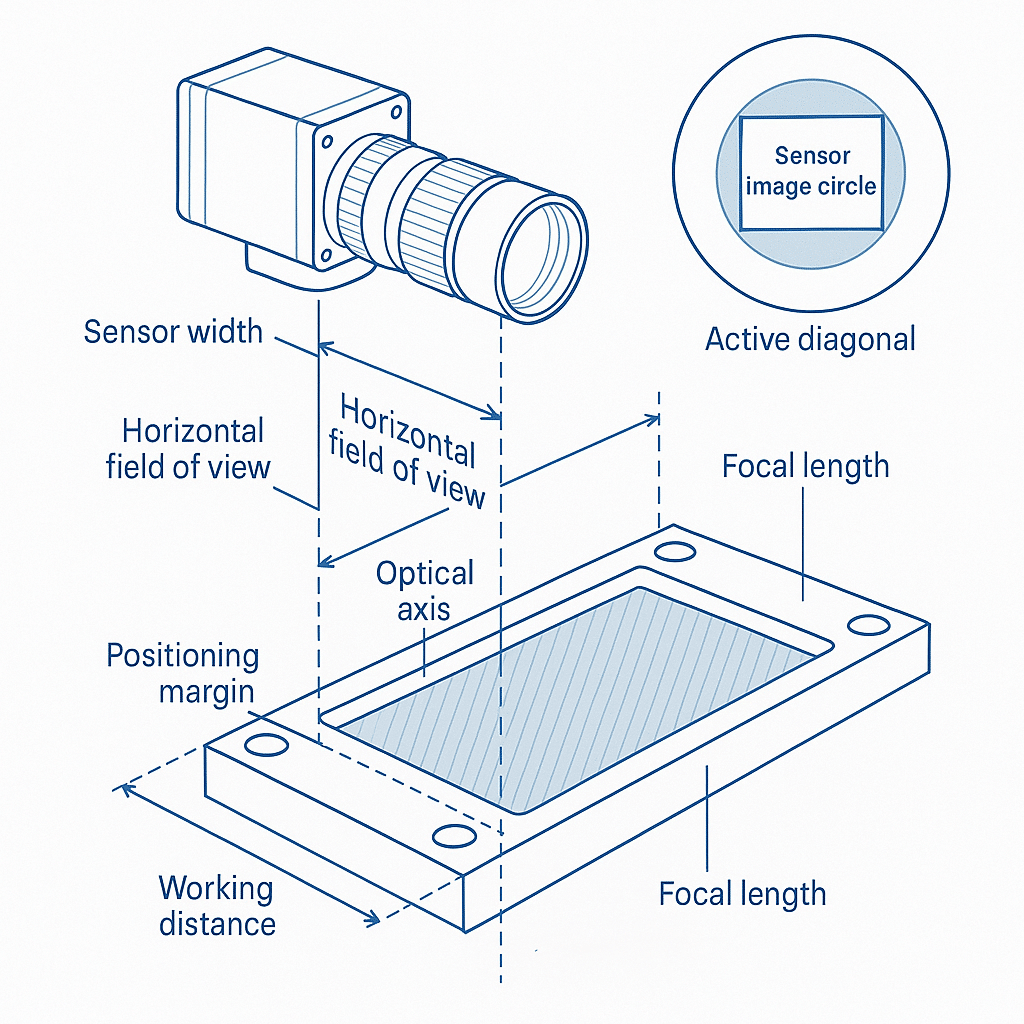
Match field of view and working distance to the smallest feature you need to see.
Read Guide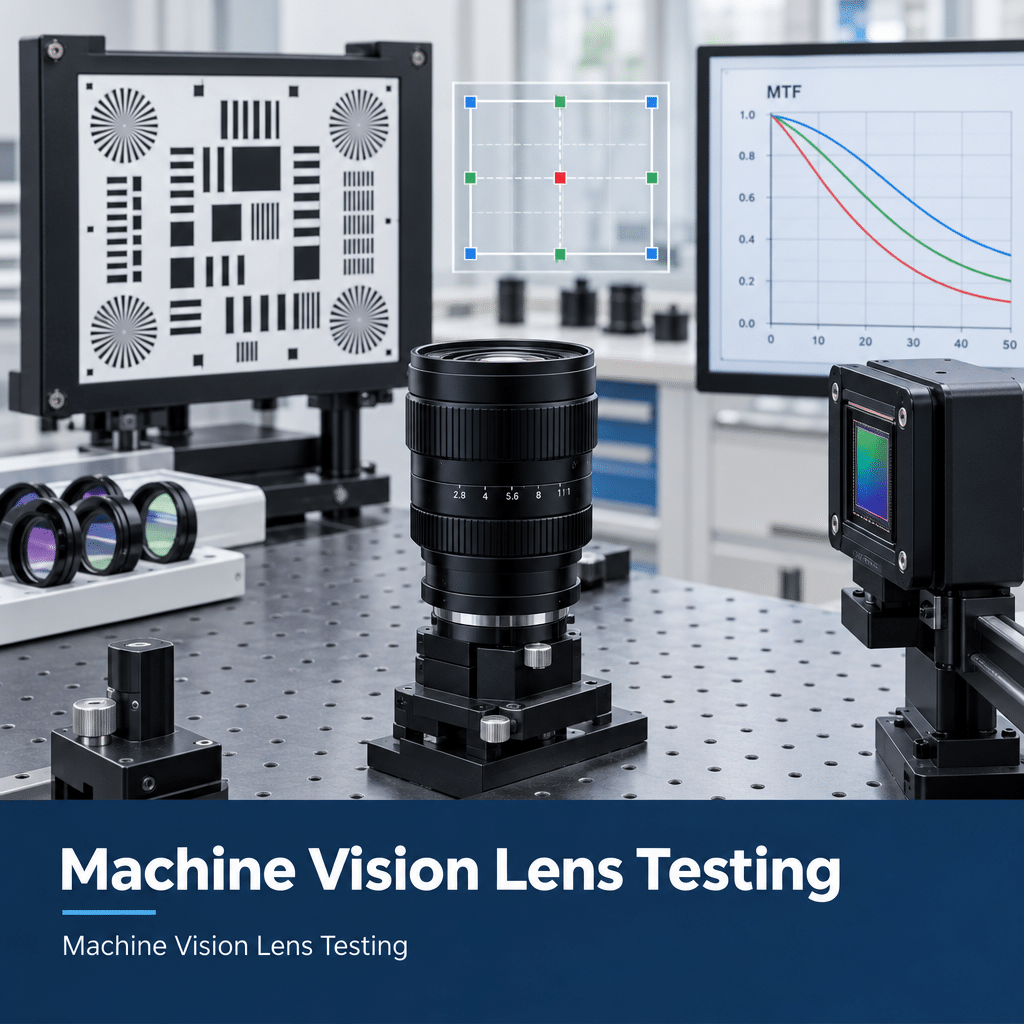
Set test limits for resolution, distortion, and edge detail before accepting a batch.
Read Guide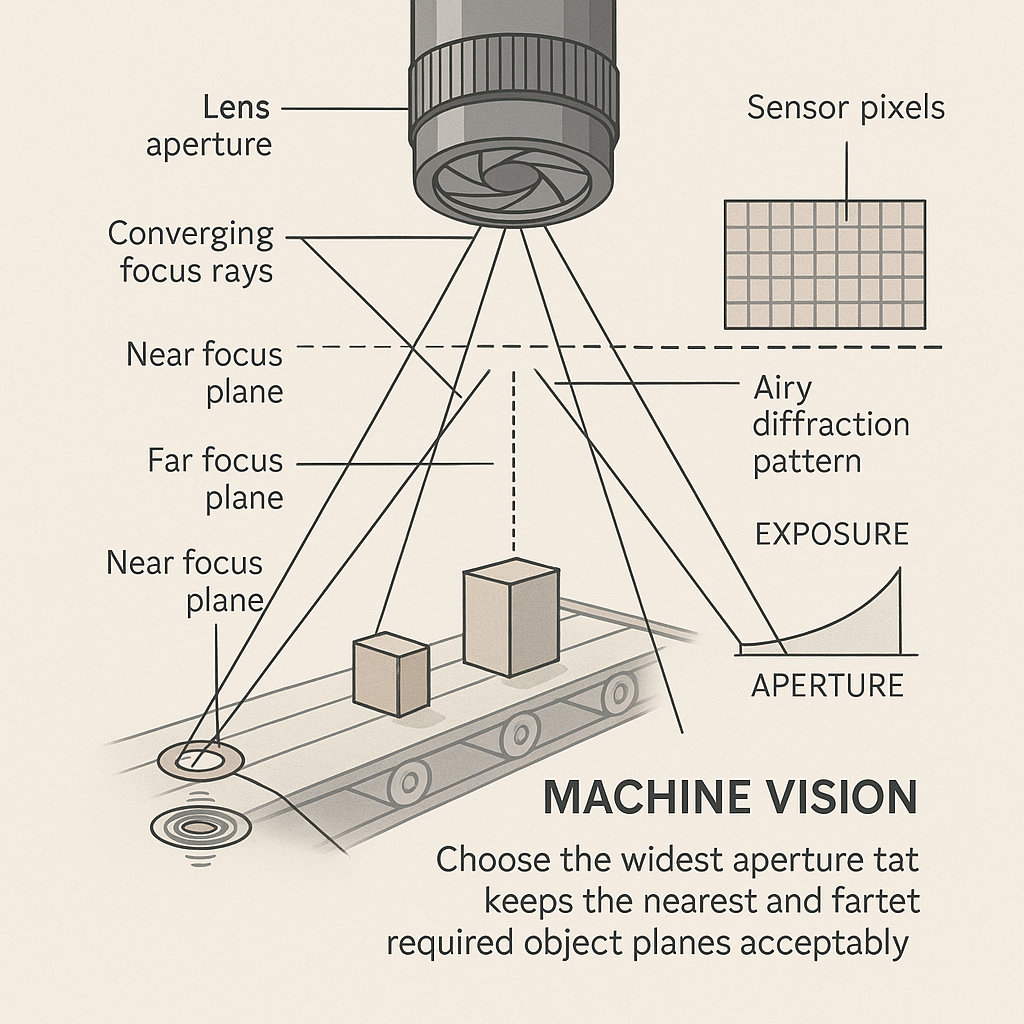
Set aperture for the required depth of field without losing fine detail to diffraction.
Read GuideBUYER QUESTIONS
Answers to common Machine Vision & Automation questions about choosing optics and verifying the finished setup.
Check position and angle error with the camera and robot calibrated together, then repeat the same pick across the operating region.
Include correctly assembled parts and realistic faults, such as missing and partially seated components.
Material finish and lighting direction affect contrast. Test representative defects under several light directions at the intended exposure.
As soon as a candidate setup is stable enough to evaluate. Normal speed reveals blur and trigger timing problems that can be missed on a bench.
PROJECT INQUIRY
For Machine Vision & Automation, share part drawings or images, the decision the camera must make, working distance, and target cycle time. Include representative samples and the allowable error or defect size.
Include a model number or the information currently available:
You do not need a complete optical specification to start. Send the information currently available, along with your delivery destination and preferred schedule.